Shop Your House First · No. 20 of 20
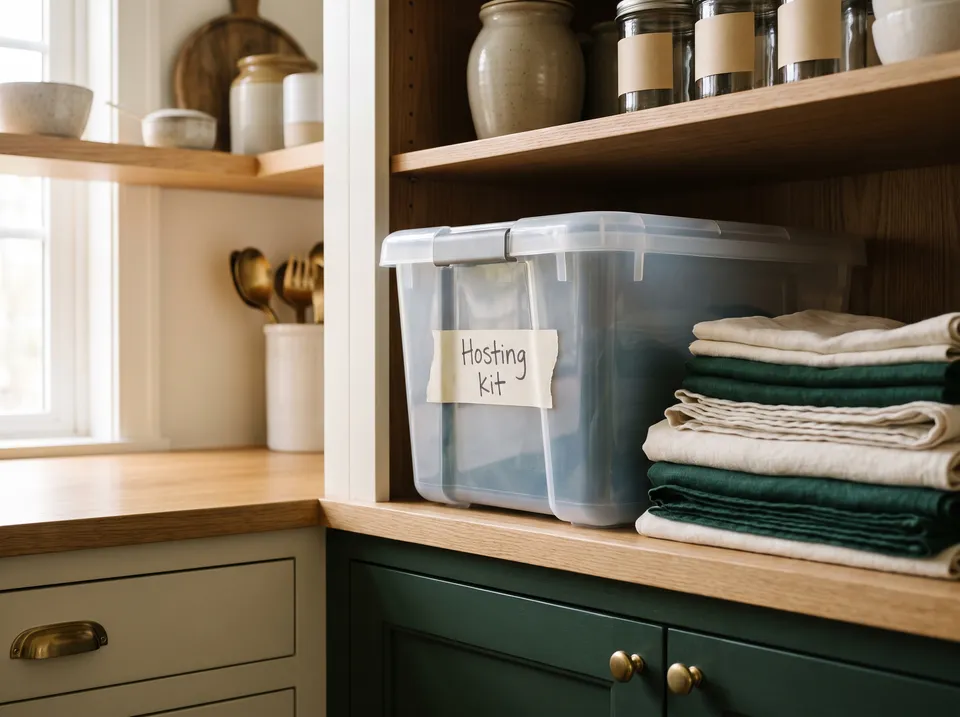
Build a Reusable Hosting Kit
The bin, the plan and the playbook: everything a gathering needs besides the table, a menu that’s done before the doorbell, a kitchen ready to absorb the party, and notes that make the next one easier.
The table is the pretty part. What makes hosting feel easy is everything around it: a bin of the things every gathering needs, a menu that’s mostly done before the doorbell rings, a kitchen with room to absorb the party, and a few notes afterward so the next one is easier. Here’s how to build all of it once and reuse it every time.
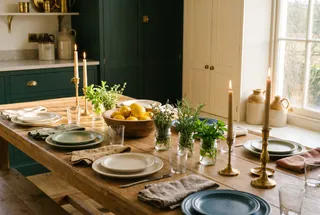
1 · The binEverything but the food, in one place.
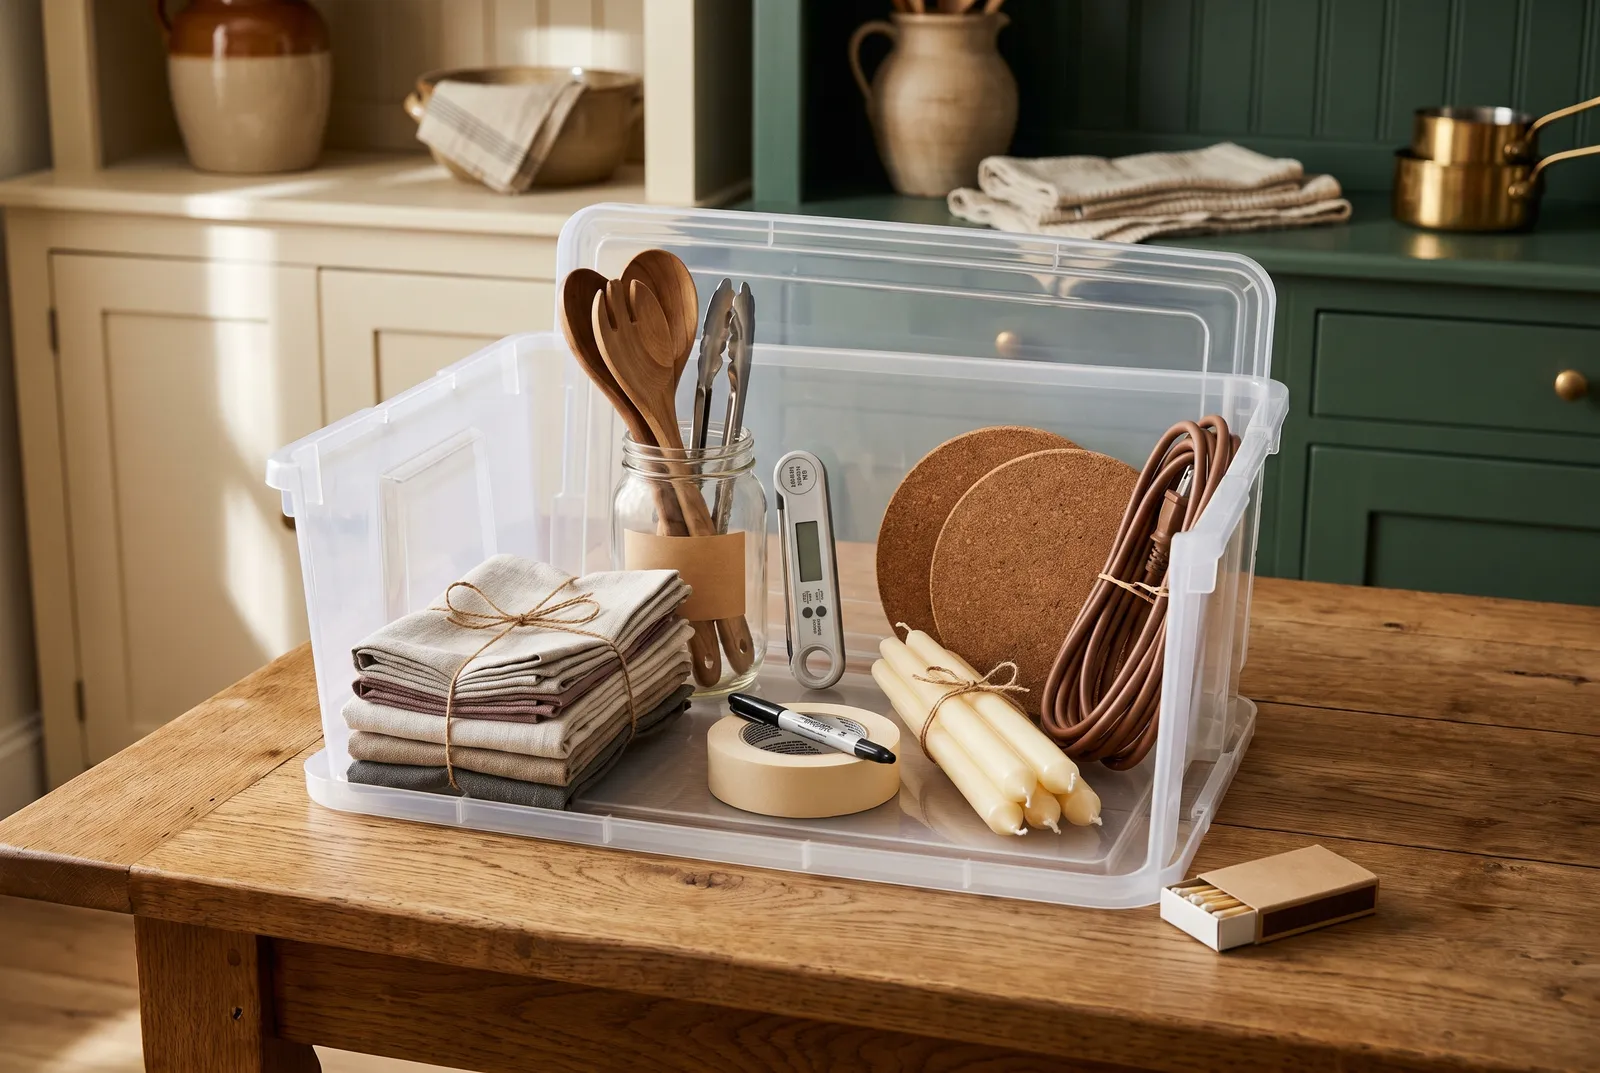
Cloth napkins
A stack in mixed colors. Cloth napkins and the dishes, glasses and silverware you already own mean nothing to throw away at the end of the night.
A serving spoon for every dish
Count your biggest spread and pack that many spoons and tongs.
An instant-read thermometer
The only way to know the slow cooker is holding at 140°F and the casserole really reached 165°F.
Masking tape and a marker
For a note in every serving dish, labels on the buffet, and dates on the leftovers.
Small platters and big bowls for ice
Small platters let you swap a full one in for an empty one. Big bowls hold ice under the cold dishes.
Candles, trivets and an extension cord
The three things everyone goes hunting for at the last minute.
2 · Plan the foodProtect the hour before guests arrive.
- 1
What can be finished the day before? — Dips and spreads keep 2 to 3 days and often taste better for it. Casseroles can be frozen before baking and used within about 3 months. Soups freeze beautifully.
- 2
What can be done the morning of? — Chopping, setting the table, the dessert, a big batch of grains or beans (see No. 17 and No. 18).
- 3
What truly has to be last-minute? — Keep this list short. If it’s long, simplify the menu.
Watch the bottlenecks. A handful of easy recipes can add up to an impossible menu if they all need the oven at different temperatures at 5:30. Before you settle the menu, count: how many dishes need the oven, and at what temperature? What needs a burner? What has to be served right away, and what’s happy at room temperature or holding in a slow cooker? Spread the work across both time and equipment.
- ½
How much food — For a casual open house, about 1 to 1½ pounds of food per guest, all the dishes together; about 6 to 8 ounces of protein and 4 to 6 ounces of each side per person.
- ½
Appetizers — Before a sit-down dinner, just 2 or 3 pieces each. When appetizers are the meal, about 8 per person over the first two hours and 4 more each over the next two.
- ½
Use what you have first — Check the freezer, pantry, fridge and garden before you write a list: frozen soup, a batch of rice, cheese, herbs from the yard, the two bottles of wine already in the cupboard. Start with No. 01.
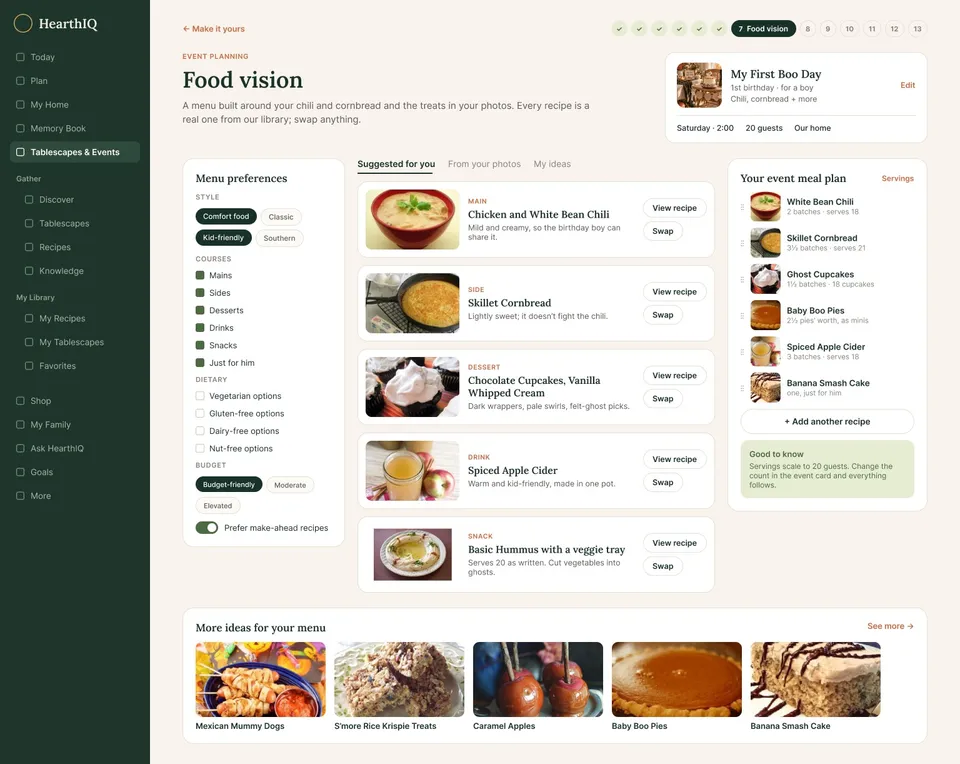
HearthIQ’s event planner takes the food the same way: the dishes you mention become a starting menu, with recipes scaled to your guest count and a place to swap or add your own.
3 · Give every dish a homeA note in every empty bowl.
Before the cooking gets busy, decide where every dish goes: which platter or bowl, which serving spoon, whether it needs a trivet, its garnish, and where it sits on the table. Then tuck a strip of tape inside each empty dish: salad, potatoes, rolls, chicken, dessert. When the food’s ready, nobody is hunting for a platter.
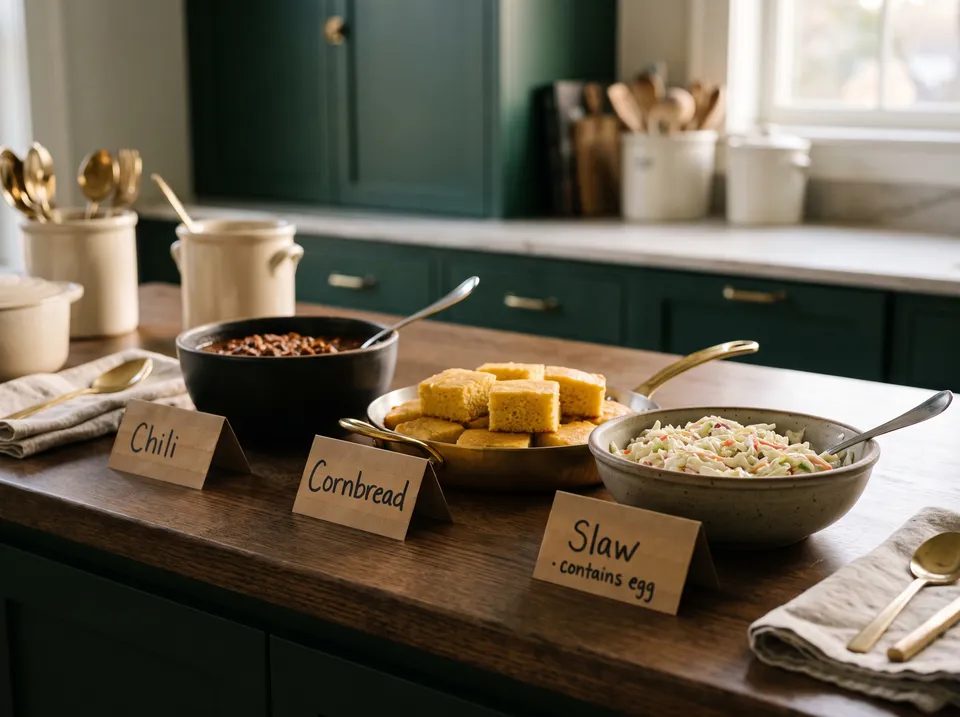
On the buffet, note any of the nine major allergens a dish contains: milk, eggs, fish, shellfish, tree nuts, peanuts, wheat, soy and sesame, and give every dish its own spoon. It’s a kindness, not a guarantee, so if a guest has a serious allergy, talk with them before the party.
4 · On the tableTwo hours, then it goes back.
Make reheating part of the plan, not an afterthought. For anything made ahead, write down when it comes out of the fridge, what it needs (oven, stove, slow cooker), how long it takes to reheat, and when it’s served. Reheat to 165°F all the way through first; a slow cooker or warming tray is for holding food hot, not heating it up. Check the thermometer before the party: in a glass of ice water, 2 inches deep for 30 seconds, it should read 32°F.
5 · The kitchenReady to absorb the party.
Step 1: Start with an empty dishwasher
Empty it, clear the sink, put away the prep tools, wipe the counters and make room in the trash. The kitchen should start the night with space, not already full.
Step 2: Make a landing spot
Decide where used things go: glasses by the sink, plates scraped and stacked, flatware into a tub of soapy water, serving pieces on one counter. Cleanup happens as you go instead of in one heap at midnight.
Step 3: Make room for leftovers first
Clear a fridge shelf and set out containers and foil before anyone arrives. Leftovers go into shallow containers within 2 hours and keep 3 to 4 days; then turn them into dinner with No. 06.
6 · Let HearthIQ carry the listOne plan: the table, the food, the list, the day.
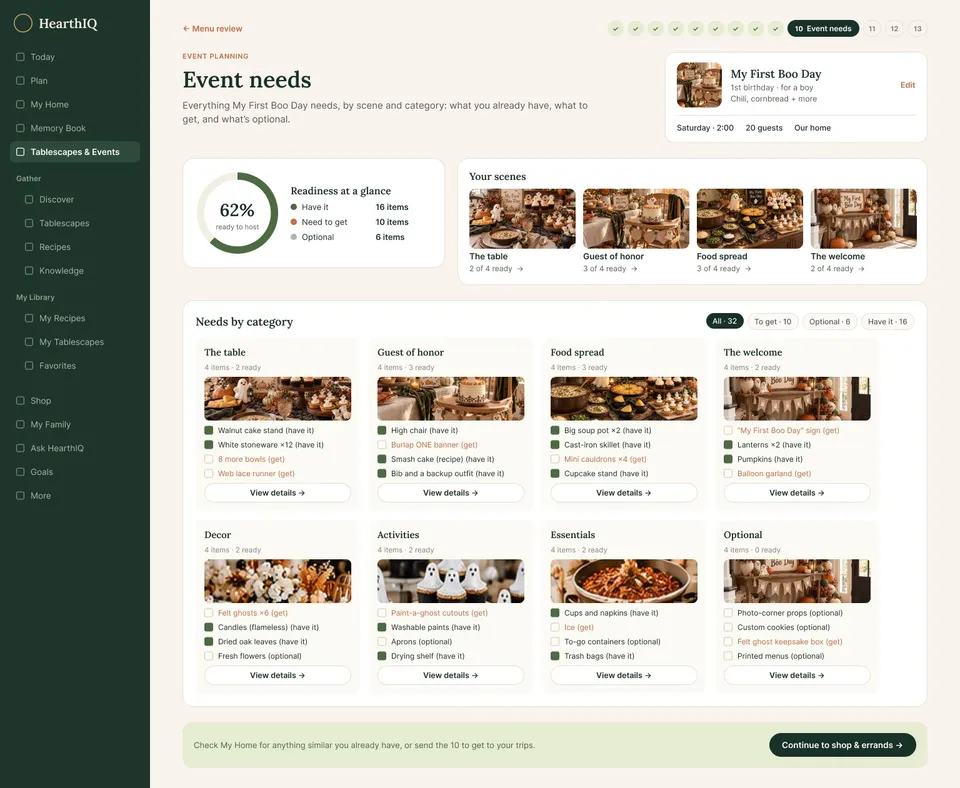
The event planner pulls it all together. Event needs shows what you already have, what you still need and what’s optional, sorted by the table, the guest of honor, the food and the welcome.
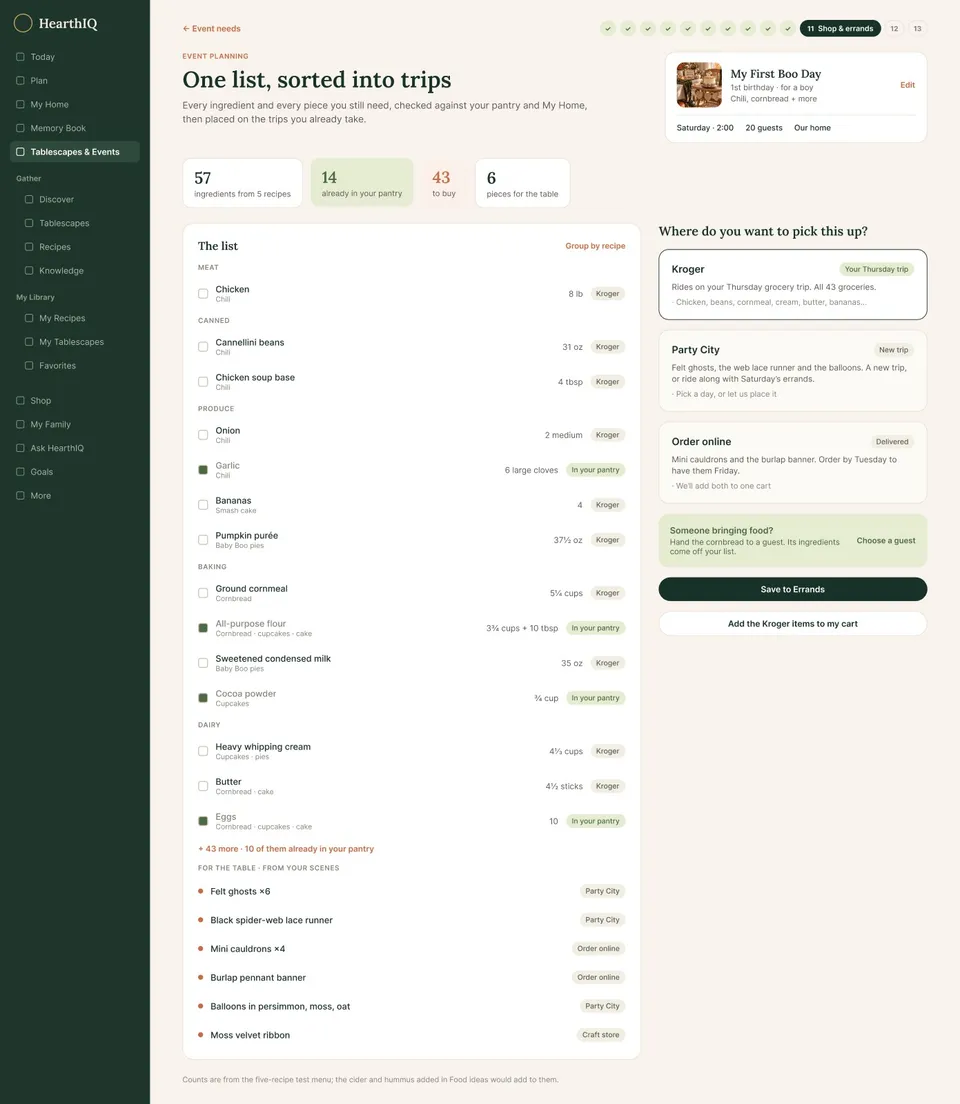
Whatever’s genuinely missing becomes one list, sorted into trips, so the grocery run and the one pickup happen on errands you were already making.
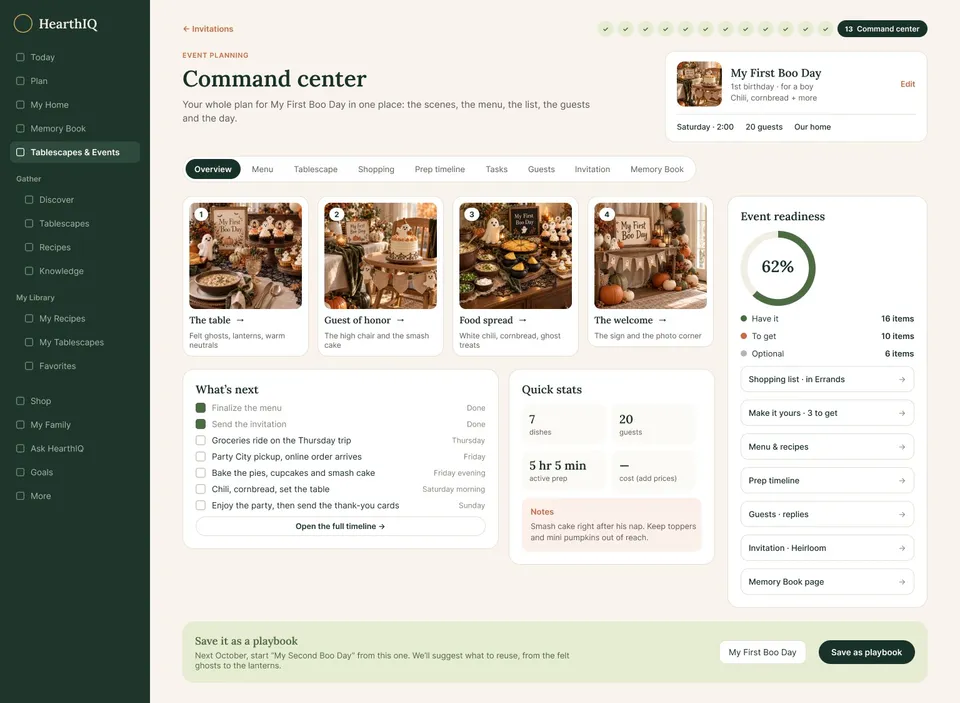
And the command center is the event’s home: the four scenes, what’s next on the timeline, the guests, the menu and the prep, all in one place. When it’s over, save it as a playbook, and next year’s version starts from this one, with the suggestions of what to reuse already made.
7 · The morning afterWash it, refill it, and write down what worked.
Step 1: Leftovers first
Under 2 hours out: shallow containers, into the fridge, labeled with the date. Longer: out.
Step 2: Wash and restock the kit
Napkins in the laundry, spoons and platters through the dishwasher, the thermometer wiped and sheathed. Tape or matches running low? Replace them now.
Step 3: Write down what you learned
Which platter worked for which dish. How many glasses you actually used. Where the extra chairs came from. What disappeared first and what was left over. What reheated well, and what caused the last-minute scramble. What you wished you had, and what you turned out not to need. Tape the list inside the lid, or save it with the event.
“Don’t start by asking what you should buy. Start by asking what you can already do.”
- 1
Discover — What are we hosting, and how should it feel?
- 2
Shop your house first — What do we already own: food, dishes, linens, chairs, decorations, drinks?
- 3
Compose and fill the gaps — Turn what you have into one gathering; get only what’s truly missing.
- 4
Prepare, host, remember — Do it early so the last hour is calm, enjoy it, then write down what worked so the next one is easier.
Quick referencePin this.
Sources: U.S. Environmental Protection Agency, nondurable goods product-specific data (2018) and Reducing Waste: What You Can Do · FDA, Food Allergies and Handling Food Safely While Eating Outdoors · USDA FSIS, Danger Zone, Leftovers and Food Safety, Slow Cookers and Food Safety, and Kitchen Thermometers · Iowa State University Extension, Graduation Party Tips · University of Arkansas Extension on party appetizers · University of Kentucky Cooperative Extension, Make-Ahead Meals · University of Minnesota, Michigan State, Washington State and University of New Hampshire Extension on buffet utensils, labeling and allergen cross-contact · USDA Meat and Poultry Hotline holiday handout (via Utah State Extension) · America’s Test Kitchen, How to Buy Food for Your Party, holiday planning, and reviews of tongs and thermometers. Hosting principles: HearthIQ. Checked October 4, 2026. HearthIQ may earn a commission on product links.